
Direct Answer
A Three Inside Down is a bearish reversal pattern made of three candlesticks appearing after an uptrend. Its first two bars are a Bearish Harami, a long bullish candle whose body contains the small body of the following candle.
Key Takeaways
- Three Inside Down is a three-bar bearish reversal pattern that appears after an uptrend.
- The first two bars form a Bearish Harami, a long bullish candle followed by a small body contained within it.
- The third bar closes below the first bar's low, and that close is what confirms the reversal, confirmation is built directly into the pattern's own definition.
- Because confirmation is already part of the pattern, Three Inside Down is considered a more complete signal than a bare Bearish Harami on its own.
- Some traders still wait for a fourth bar as extra confirmation, even though the pattern is technically already confirmed by its third bar.
Three Inside Down Candlestick Pattern: Formation, Meaning, and Signals
A Three Inside Down is a three-bar bearish reversal pattern: a Bearish Harami (a long bullish candle followed by a small body contained within it), followed by a third bar that closes below the first bar's low. Unlike a standalone Harami, the confirmation step is built directly into this pattern's own definition.
What Is a Three Inside Down?
A Three Inside Down is a bearish reversal pattern made of three candlesticks appearing after an uptrend. Its first two bars are a Bearish Harami, a long bullish candle whose body contains the small body of the following candle. Its third bar is what separates it from a plain Harami: this bar must close below the low of the first candle.
That third-bar close is the confirmation. Where a standalone Bearish Harami only shows the market losing bullish momentum, a Three Inside Down shows that momentum loss followed through with a lower close, which is why the pattern is treated as a more complete reversal signal than the two-bar shape it's built on.
How a Three Inside Down Forms
The pattern requires all three bars, in order, appearing after an uptrend:
- Bar 1: a long bullish candle, continuing the prevailing uptrend.
- Bar 2: a small body contained within Bar 1's body, forming the Bearish Harami together with Bar 1.
- Bar 3: a bar that closes below Bar 1's low, the confirming close that completes the pattern.
Stopping at two bars only gives you a Bearish Harami, not a Three Inside Down. The pattern isn't complete, and isn't confirmed, until the third bar's close is in place.
Three Inside Down Example
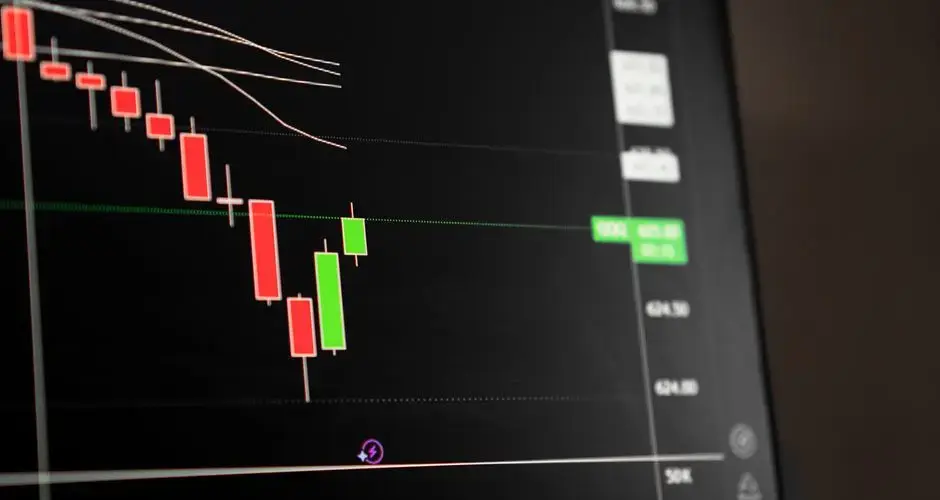
The chart below shows a deterministic, illustrative example: an uptrend leading in, the Bearish Harami and confirming third bar forming the pattern, then two possible continuations, a confirmation (price follows through lower) and a failure/look-alike (price recovers instead). Toggle between them to see how the pattern's own third bar already does the confirming work.
How to Trade a Three Inside Down
Confirmation is already built in
Because the third bar's close below the first bar's low is part of the pattern's own definition, a Three Inside Down is considered a more complete signal than a bare Bearish Harami on its own, the Harami alone only shows fading bullish momentum, with no confirming follow-through.
Some traders still wait for a fourth bar
Even though the pattern is technically already confirmed once the third bar closes, some traders wait for a fourth bar as extra confirmation before acting, treating the completed three-bar pattern as a trigger to watch rather than an automatic signal to act on.
Read it in context
Like other reversal patterns, a Three Inside Down means the most when it appears after a genuine uptrend. The same three-bar shape appearing outside of an uptrend doesn't carry the same reversal implication.
Common Three Inside Down Mistakes
- Treating a Bearish Harami as equivalent to a Three Inside Down, the Harami alone lacks the confirming third-bar close that this pattern requires.
- Stopping the count at two bars, two bars only give you the Harami base shape, not a completed, confirmed Three Inside Down.
- Ignoring whether an uptrend actually preceded the pattern, the reversal reading depends on the pattern appearing after an uptrend, not on the three-bar shape alone.
- Confusing it with Three Outside Down, that pattern is built on a Bearish Engulfing base, not a Bearish Harami, and the two are not interchangeable.
Three Inside Down vs. Similar Patterns
| Pattern | Bar count | Key difference |
|---|---|---|
| Three Inside Down | 3 | Baseline, Bearish Harami plus a confirming third bar closing below the first bar's low |
| Bearish Harami | 2 | Just the first two bars of a Three Inside Down, with no confirmation built in |
| Three Outside Down | 3 | Built on a Bearish Engulfing pattern instead of a Bearish Harami as its base two-bar shape |
Limitations of the Three Inside Down Pattern
A Three Inside Down describes a specific three-bar price relationship, not a forecast. It carries no information about volume, order flow, or the reasons behind the move, and it says nothing about how far a reversal might extend once confirmed. Its reversal reading also depends on the pattern appearing after a genuine uptrend, the same bar shapes forming outside that context don't carry the same implication. Like any candlestick pattern, it works best combined with broader trend and level context rather than used in isolation.

Built-In Confirmation Means a Late Entry
Because the confirming close is part of the definition, there is nothing left to wait for once the pattern completes, and that is both its strength and its cost. You get a pattern that has already demonstrated follow-through, and you get it three sessions after the top bar, with the third candle having closed below the first bar low. The entry is late by construction rather than by hesitation.
Knowing that changes how the trade should be framed. The stop derived from the pattern, typically above its high, sits a long way from an entry taken at the third close, which means the position has to be smaller than the pattern shape alone suggests.
Underneath it, the bearish harami requirements are unchanged: a long green bar, then a small body contained entirely within it, measured on the real bodies rather than the full ranges, with no gap required.
The trade-off against waiting for your own confirmation on a plain harami is worth stating: this version filters out the haramis that went nowhere, and it charges you the three sessions it took to find out.
Three Inside Down FAQs
Is a Three Inside Down the same as a Bearish Harami?
No. A Bearish Harami is only the first two bars, a long bullish candle followed by a small body contained within it. A Three Inside Down adds a required third bar that closes below the first bar's low, which is what actually confirms the reversal.
Does a Three Inside Down need a fourth bar to confirm it?
Not by definition. The pattern's own third bar, closing below the first bar's low, is the confirmation. Some traders still wait for a fourth bar as extra confirmation, but the pattern is technically already confirmed once the third bar closes.
How many bars make up a Three Inside Down?
Three. A long bullish first bar, a small-bodied second bar contained within the first (the Bearish Harami), and a third bar that closes below the first bar's low.
What's the difference between Three Inside Down and Three Outside Down?
Three Inside Down is built on a Bearish Harami as its first two bars. Three Outside Down is built on a Bearish Engulfing pattern instead, a different two-bar base shape, before its own confirming third bar.
What context does a Three Inside Down need to appear in?
Like other reversal candlestick patterns, a Three Inside Down is read within the context of a preceding uptrend. The pattern describes a bearish reversal, so its signal is most relevant when it interrupts an existing upward move.
What exactly must the third candle do?
Close below the low of the second candle, or below the close of the first, depending on the implementation. The strict version requires a close beneath the entire harami, which is a substantially harder condition than simply closing lower. Because that single choice determines the completion rate, it is worth establishing before comparing the pattern against any published description.
How does three inside down relate to the harami cross?
If the contained second candle is a doji rather than a small body, the first two bars form a harami cross and the completed three-bar pattern is sometimes described as a three inside down with a cross. Most implementations do not distinguish them, treating any sufficiently small second body as satisfying the harami condition regardless of whether it meets the doji threshold.
Where does the invalidation for three inside down sit?
Above the high of the first candle, which is the top of the structure the pattern describes. Price exceeding it means the advance the harami suggested was stalling has resumed above its prior extreme. That level is fixed once the first bar completes, so it is known well before the pattern finishes forming.
What if the third candle closes lower but not below the first candle low?
Under a strict definition the pattern is incomplete, and under a loose one it is complete. That is a substantial gap between implementations, since a marginally lower close is common after any harami while a close beneath the whole structure is not. Sequences described as three inside down in different sources frequently refer to these two different events.
References
- CMT Association: Technical Analysis Body of Knowledge and Research
- CFA Institute Research and Policy Center: Investment Research
- Steve Nison, Japanese Candlestick Charting Techniques (1991), the book credited with popularizing Japanese candlestick analysis in Western markets.
- SEC Investor.gov: Introduction to Investing