
Direct Answer
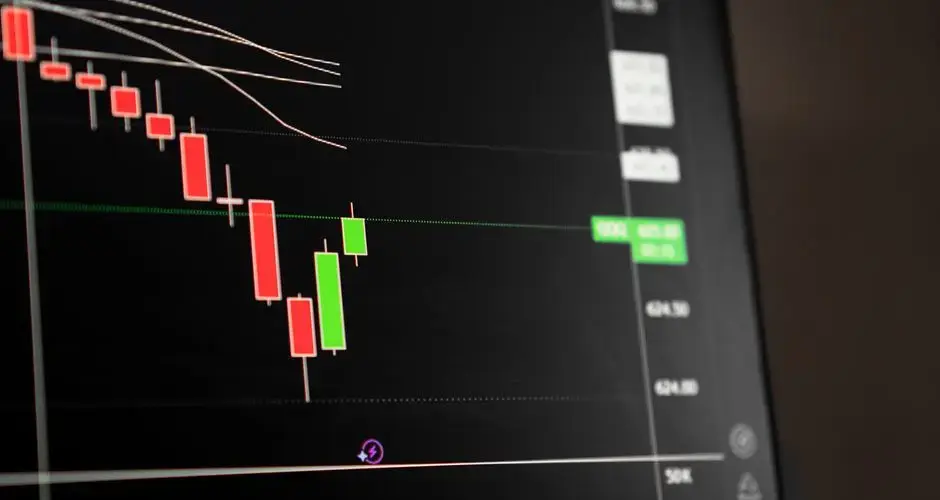
The Harami Cross belongs to the Harami family of two-bar patterns. The first bar is a large real body, a candle where the open and close are far apart.
Key Takeaways
- A Harami Cross is a variant of the Harami pattern where the second, small-bodied candle is specifically a doji, open and close nearly equal, rather than merely a small body.
- The doji must still be contained within the first bar's large real body, the same containment requirement that defines any Harami pattern.
- Because a doji represents a more extreme form of indecision than an ordinary small candle, a Harami Cross is generally read as carrying more weight than a standard Harami.
- The pattern can signal bullish (after a downtrend, first bar bearish) or bearish (after an uptrend, first bar bullish), the surrounding trend determines the direction, not the pattern shape itself.
- Like any single-pattern signal, it still requires confirmation before acting, regardless of how decisive the doji shape looks.
Harami Cross Candlestick Pattern: Formation, Meaning, and Signals
A Harami Cross is a two-bar candlestick pattern where a doji, a candle with a nearly equal open and close, is contained within the large real body of the candle immediately before it. It's a variant of the standard Harami pattern, and because a doji is a more extreme signal of indecision than an ordinary small body, the Harami Cross is generally read as carrying more weight.
What Is a Harami Cross?
The Harami Cross belongs to the Harami family of two-bar patterns. The first bar is a large real body, a candle where the open and close are far apart. The second bar is small enough, and positioned closely enough, that its entire range sits inside the first bar's real body. That containment relationship is what makes any pattern a Harami in the first place.
What separates a Harami Cross from a standard Harami is the shape of that second bar. In a standard Harami, the second candle just needs a small body relative to the first. In a Harami Cross, the second candle is specifically a doji, its open and close are nearly equal, leaving little or no real body at all. A doji represents a more extreme form of indecision than an ordinary small candle, which is why traders generally treat a Harami Cross as carrying more significance than a plain Harami.
How a Harami Cross Forms
Formation requires two conditions to hold together. First, the prior bar must have a large real body, a clear directional bar with the open and close well separated. Second, the following bar must be a doji whose entire range is contained within that prior bar's body, rather than merely having a small body of its own.
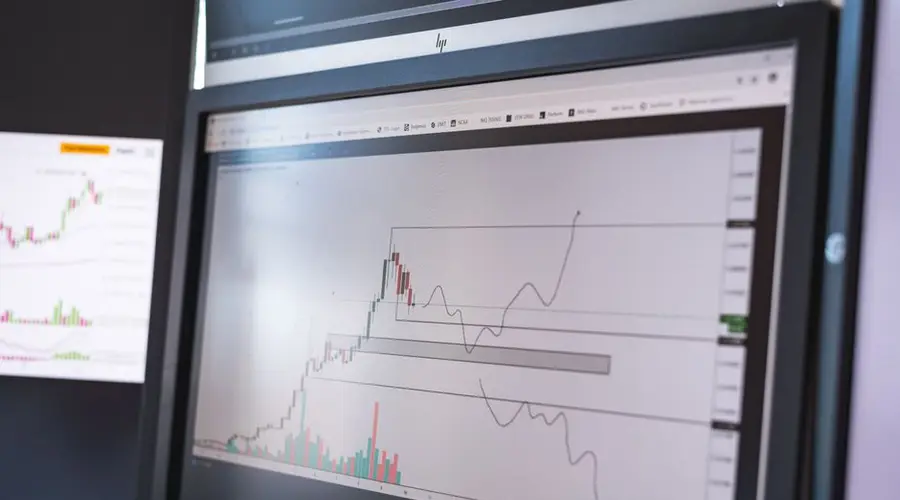
The direction the pattern implies depends entirely on the trend it appears in, not on the pattern's shape. A Harami Cross appearing after a downtrend, with the first bar bearish, is read as a potential bullish signal. A Harami Cross appearing after an uptrend, with the first bar bullish, is read as a potential bearish signal. The same two-bar shape supports either reading, only the surrounding trend decides which one applies.
Harami Cross Example
The chart below shows a deterministic, illustrative example: a downtrend leading in, a large bearish bar followed by a contained doji forming the Harami Cross, then two possible continuations, a confirmation (price follows through in the reversal direction) and a failure/look-alike (price breaks the first bar's low instead). Toggle between them to see why the pattern alone doesn't decide the outcome.
How to Trade a Harami Cross
Weigh it, but don't overweight it
Because the doji shows an even sharper stall in momentum than a regular Harami, some traders give it more weight when reading the surrounding trend and levels. That extra weight is a qualitative judgment, not a guarantee of a better outcome, so it shouldn't change the underlying process for acting on the signal.
Wait for confirmation
The Harami Cross still requires the same confirmation discipline as any other candlestick pattern: wait for the next bar to close beyond the first bar's high (for a bullish read) or low (for a bearish read) before treating it as actionable. Skipping this step because the doji "looks" more decisive removes the check that separates a real signal from a random pause.
Confirm containment first
Before labeling a pattern a Harami Cross, verify that the doji's full range actually sits within the prior bar's real body. A doji that merely follows a large candle, without being contained inside it, is not a Harami Cross.
Common Harami Cross Mistakes
- Skipping the containment check, treating every doji that happens to follow a large candle as a Harami Cross without verifying it's actually contained within the prior bar's body.
- Assuming a stronger label means a stronger edge, the "more weight" traders give a Harami Cross is a qualitative read, not evidence of a bigger statistical edge over a standard Harami.
- Skipping confirmation, acting immediately because the pattern "looks" more decisive removes the follow-through check that applies to every candlestick pattern.
- Ignoring the surrounding trend, the same Harami Cross shape can imply a bullish or bearish read depending on what came before it.
Harami Cross vs. Similar Patterns
| Pattern | Second-bar body | Key difference from a Harami Cross |
|---|---|---|
| Harami Cross | Doji, contained | Baseline, doji contained within prior large body |
| Bullish/Bearish Harami | Small (non-doji), contained | Second bar has a small but visible body, not a doji, still contained within prior body |
| Doji (standalone) | Near-zero, no containment required | No requirement that it sit inside a prior bar's body |
Limitations of the Harami Cross Pattern
A Harami Cross describes a two-bar shape, a doji contained inside a prior large body, and nothing more. It carries no information about volume, order flow, or the reasons behind the indecision, and it says nothing about the size of any move that might follow. The pattern shape alone doesn't determine direction; that depends on the trend it appears in. Like any candlestick pattern, it works best combined with trend context, support/resistance, and a defined confirmation and invalidation plan, not used alone.
The Stricter Version, With the Doji Problem Attached
A harami cross is a harami whose second bar is a doji, which makes it the more demanding version of the pattern and imports the doji definition problem along with it. Since no standard fixes how near-equal the open and close must be, whether a given bar qualifies depends on the tolerance you apply, and the same three bars can be a harami cross or an ordinary harami depending on that choice.
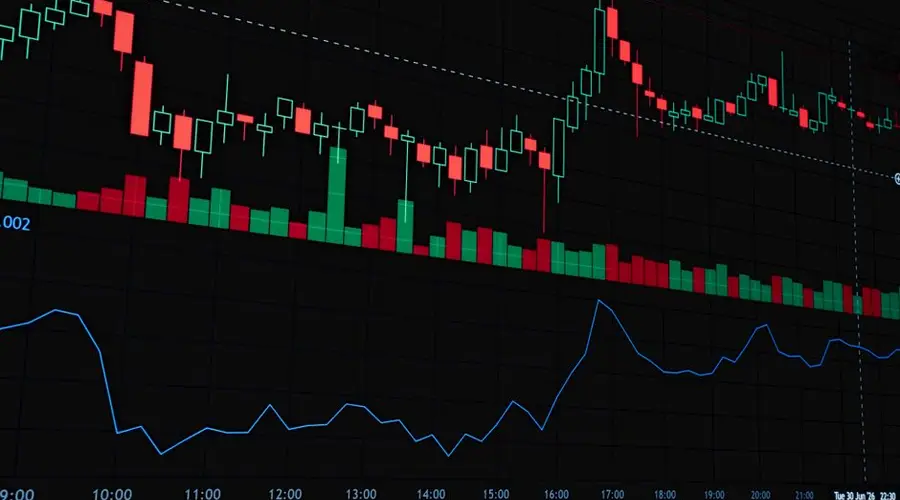
What the stricter form adds is a stronger statement about the pause. A second session that finishes essentially where it opened, entirely inside the prior body, says the momentum did not merely slow, it stopped, which is a clearer break from the preceding bar than a small directional body would be.
The rest of the requirements carry over unchanged. Containment is measured on bodies rather than full ranges, an established trend has to precede the pattern for the reversal reading to apply, and the doji colour or direction is not part of the definition.
Two bars describing a stall still need something to follow. A close beyond the pattern in the implied direction is the confirmation, and the pattern extreme is the natural level at which the read stops being valid.
Harami Cross FAQs
What makes a Harami Cross different from a regular Harami?
A regular Harami just needs a small second body contained within the first bar's large real body. A Harami Cross is the same containment, but the second bar is specifically a doji, open and close nearly equal, which represents a more extreme form of indecision.
Is a Harami Cross always bullish?
No. A Harami Cross can be either bullish or bearish. It reads as bullish when it appears after a downtrend with a bearish first bar, and bearish when it appears after an uptrend with a bullish first bar, the surrounding trend determines the direction, not the pattern shape itself.
Does a stronger-looking pattern like the Harami Cross mean a stronger edge?
Not automatically. The doji second bar is a more extreme signal of indecision than an ordinary small body, so some traders give it more weight, but that's a qualitative read, not a guarantee of a better statistical outcome. It still requires the same confirmation discipline as any other candlestick pattern.
Does a Harami Cross need confirmation before acting on it?
Yes. Traders typically wait for the next bar to close beyond the first bar's high (for a bullish read) or low (for a bearish read) before treating the Harami Cross as an actionable signal, the same as with a standard Harami.
How is a Harami Cross different from a standalone doji?
A standalone doji only requires a near-zero body on its own bar, with no containment requirement relative to a prior bar. A Harami Cross requires that same doji to sit fully within the large real body of the candle immediately before it.
Does the doji have to sit entirely inside the previous body?
The classical requirement is that the doji open and close both fall within the previous body, and implementations differ on whether the doji shadows must also be contained. The shadow version is stricter and rarer. Since a doji has essentially no body, the containment test reduces to whether a single price sits inside the previous range, which is a weaker condition than the ordinary harami test.
How do two separate tolerances interact in this pattern?
They compound, which is what makes the pattern inconsistently identified across platforms. One tolerance decides how small a body counts as a doji; another decides how the containment is measured. Loosening either increases the count, and loosening both increases it substantially. A harami cross found by one scanner and not another usually differs on one of these rather than on the price data.
Is a harami cross read differently in bullish and bearish contexts?
The geometry is identical and only the preceding trend differs, which is the same situation as the hammer and hanging man. In practice the bearish version after an advance receives more attention, because a doji following a strong up candle is read as buying interest stalling. Whether that asymmetry is warranted is not established, and the shape is symmetric.
How does a harami cross relate to the three inside patterns?
It is the first two bars of one. Three inside up and three inside down are a harami followed by a confirming third bar, and if the contained candle is a doji the first two bars form a harami cross. So a harami cross that is followed by a bar closing beyond the first candle becomes a three inside pattern, which is the same structure with confirmation attached.
References
- CMT Association: Technical Analysis Body of Knowledge and Research
- CFA Institute Research and Policy Center: Investment Research
- Steve Nison, Japanese Candlestick Charting Techniques (1991), the book credited with popularizing Japanese candlestick analysis in Western markets.
- SEC Investor.gov: Introduction to Investing